On my previous blog post, 3D printing a sportomatic brake pedal, I shared some pictures and detail of the process. There were so many comments and requests to share the file, that I have decided to upload it here:
When I was about 11, I created a Lego greenhouse that grew a real plant. That’s when I first believed that I could create technology that makes a difference in the real world. I came to Google as a level 3 just over 9 years ago to work with the best people in the world to achieve that mission. Being part of programs like YouTube Symphony only confirmed this truth. Four promotions later I hit an EQ brick wall, leading to 2 years of hard self reflection both inside (thanks Take the Lead) and outside Google (thanks INSEAD).
At the end of this period I wrote a thesis with a paediatric surgeon in Singapore. She turned up late to our first group meeting… typical university group work right? Except she was late due to performing a liver transplant on a newborn. I reflected that the ads I delivered today didn’t give me that same feeling, she reflected that she only had one pair of hands and YouTube educates the world on health every second.
In the couple of years since this experience I’ve felt a need to more deliberately structure teams to solve real world problems. Full time this was helping my awesome Publisher team find a way to fund journalism again, but at night I was kept awake by failed health startups and raising our 3rd child. My list of requirements for a healthtech role that would be good enough to leave Google for was extensive, but after a lot of sleepless nights and consultation with family and mentors, I think I’ve found one.
There are a huge number of people to thank for this journey – Neeraj, Estee, Alan, Abhay and Scott for being amazing mentors and advocates. My teams and peers across Brand, CSE and Publishers who have pushed me to be a better person and manager, but more importantly shared so many personally meaningful TGIFs, off-sites, coffees and lunches. I’m sorry for pushing so hard on PDPs and career development, but if it helped spark even one new insight into what motivates you then I leave content.
Please stay in touch, it’s a small world even outside the Google bubble.
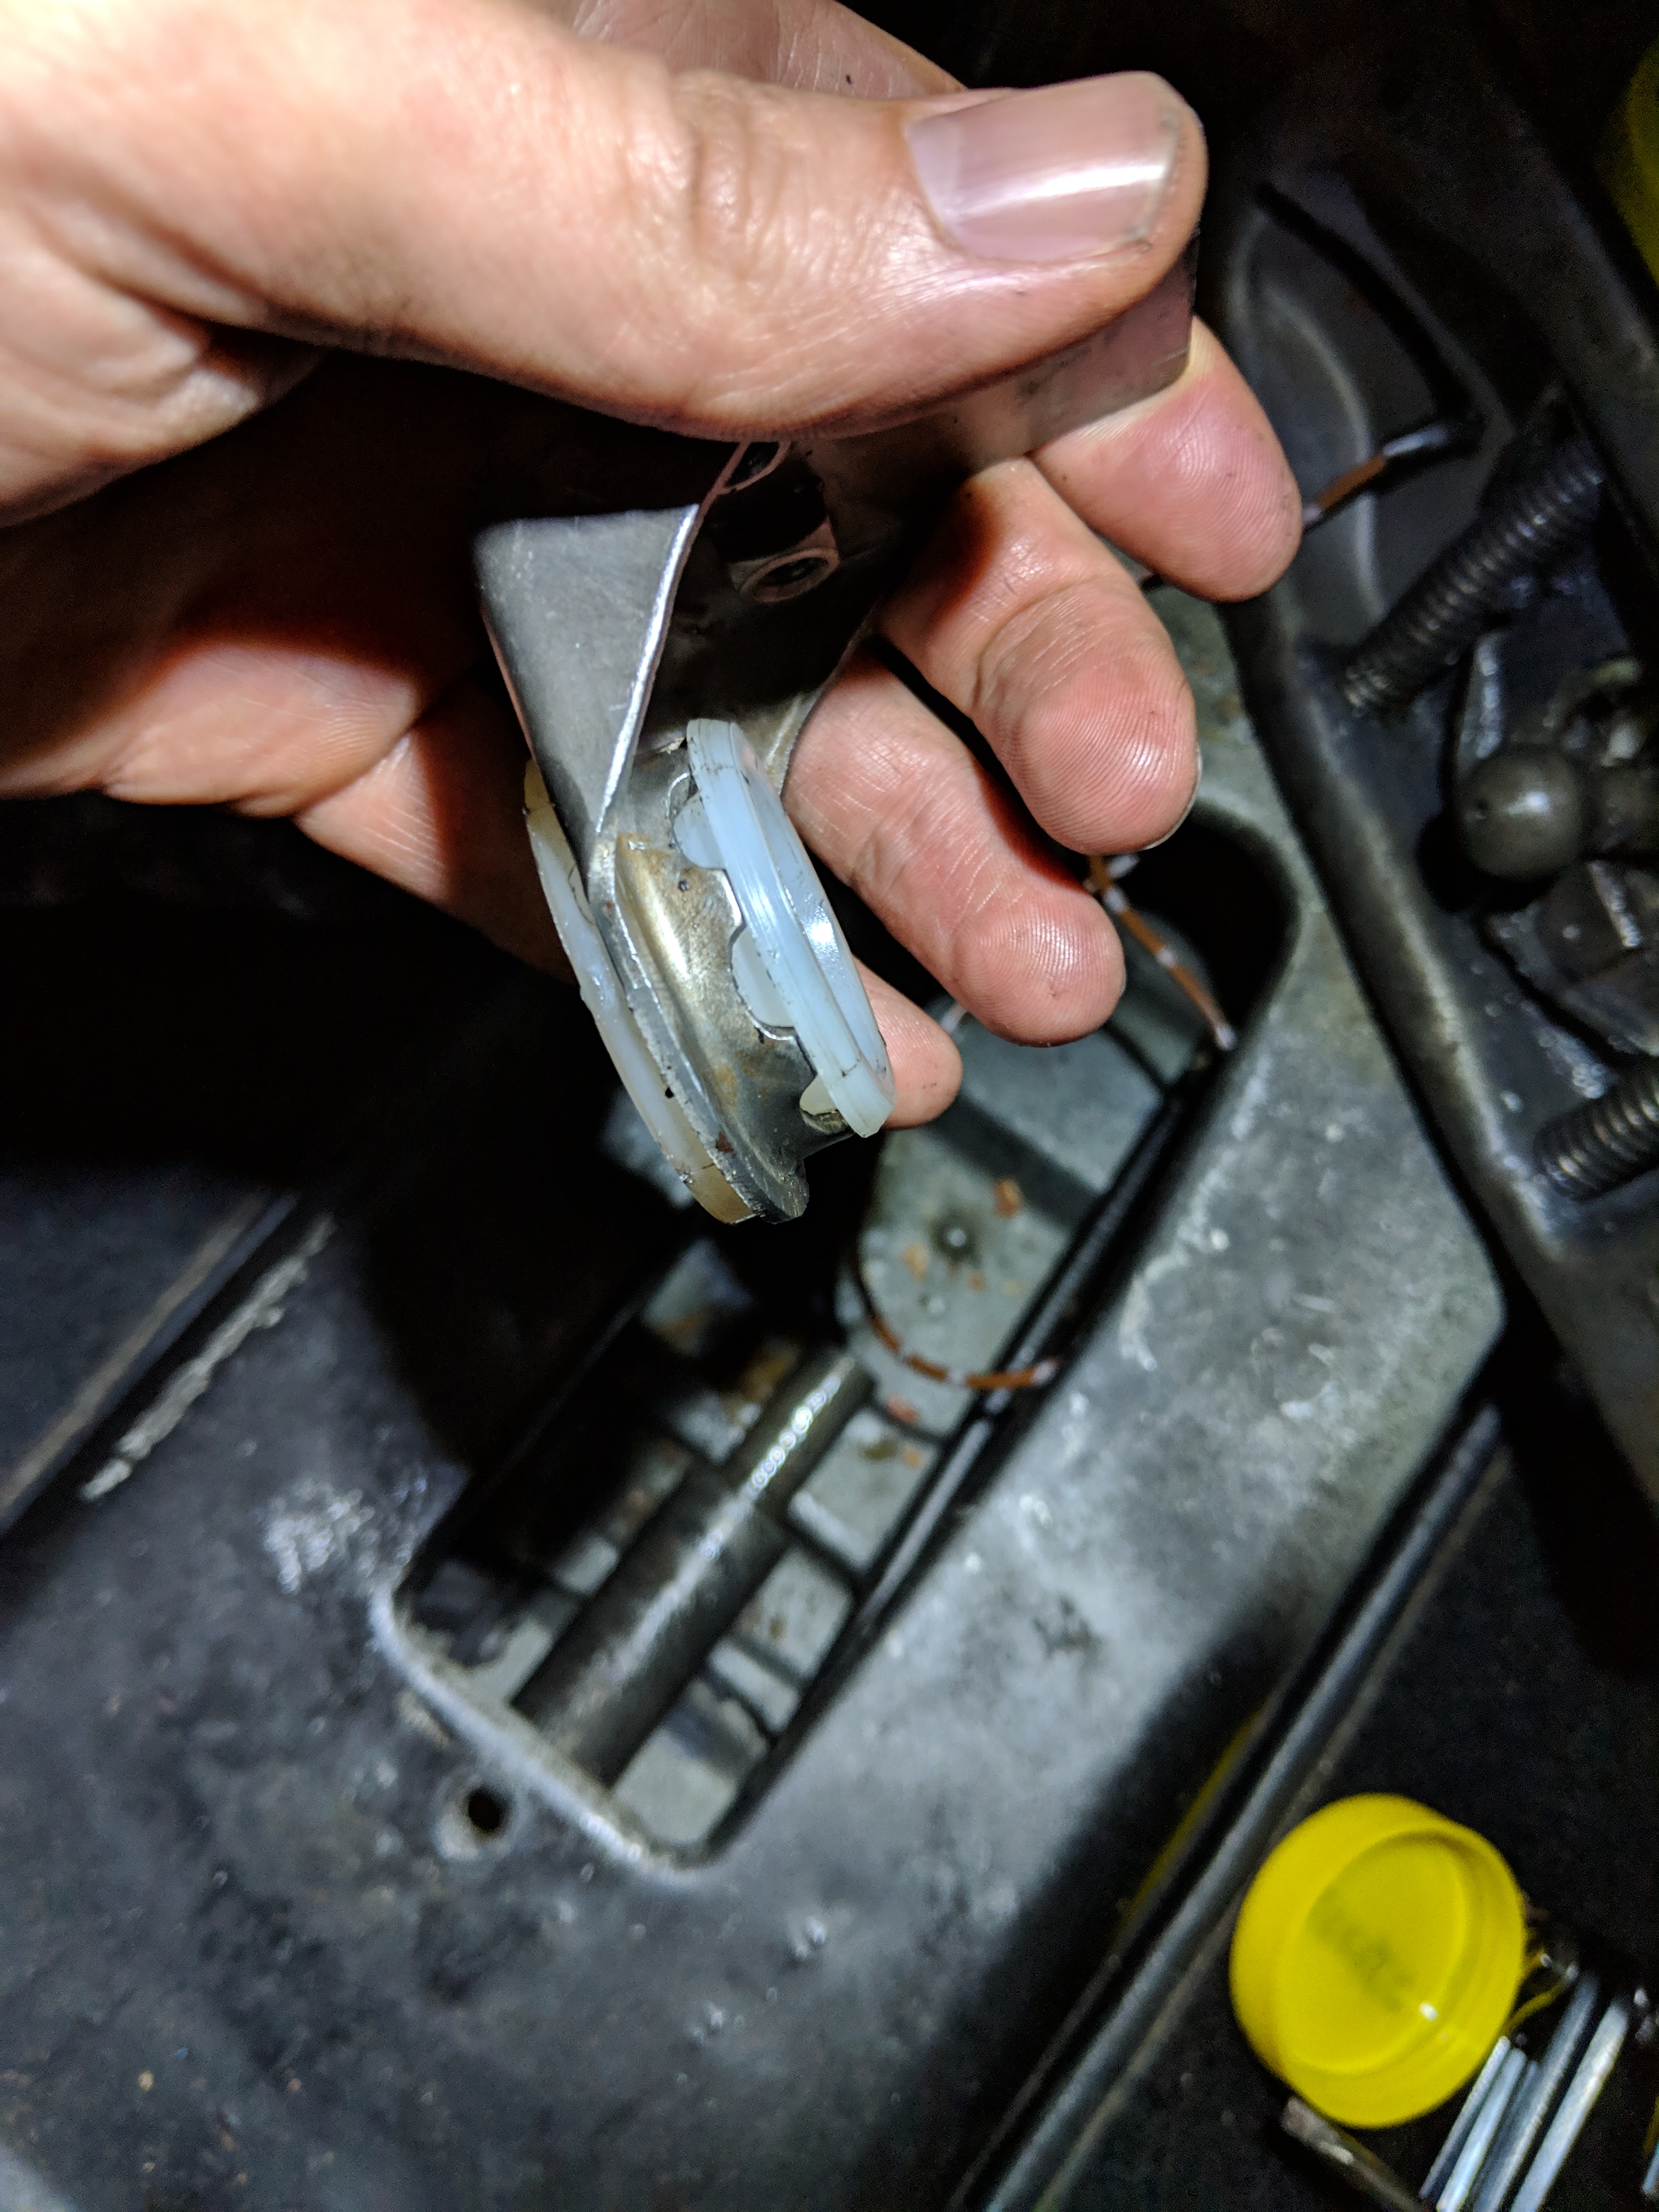
There are 3 main bushings that need to be replaced in this project:
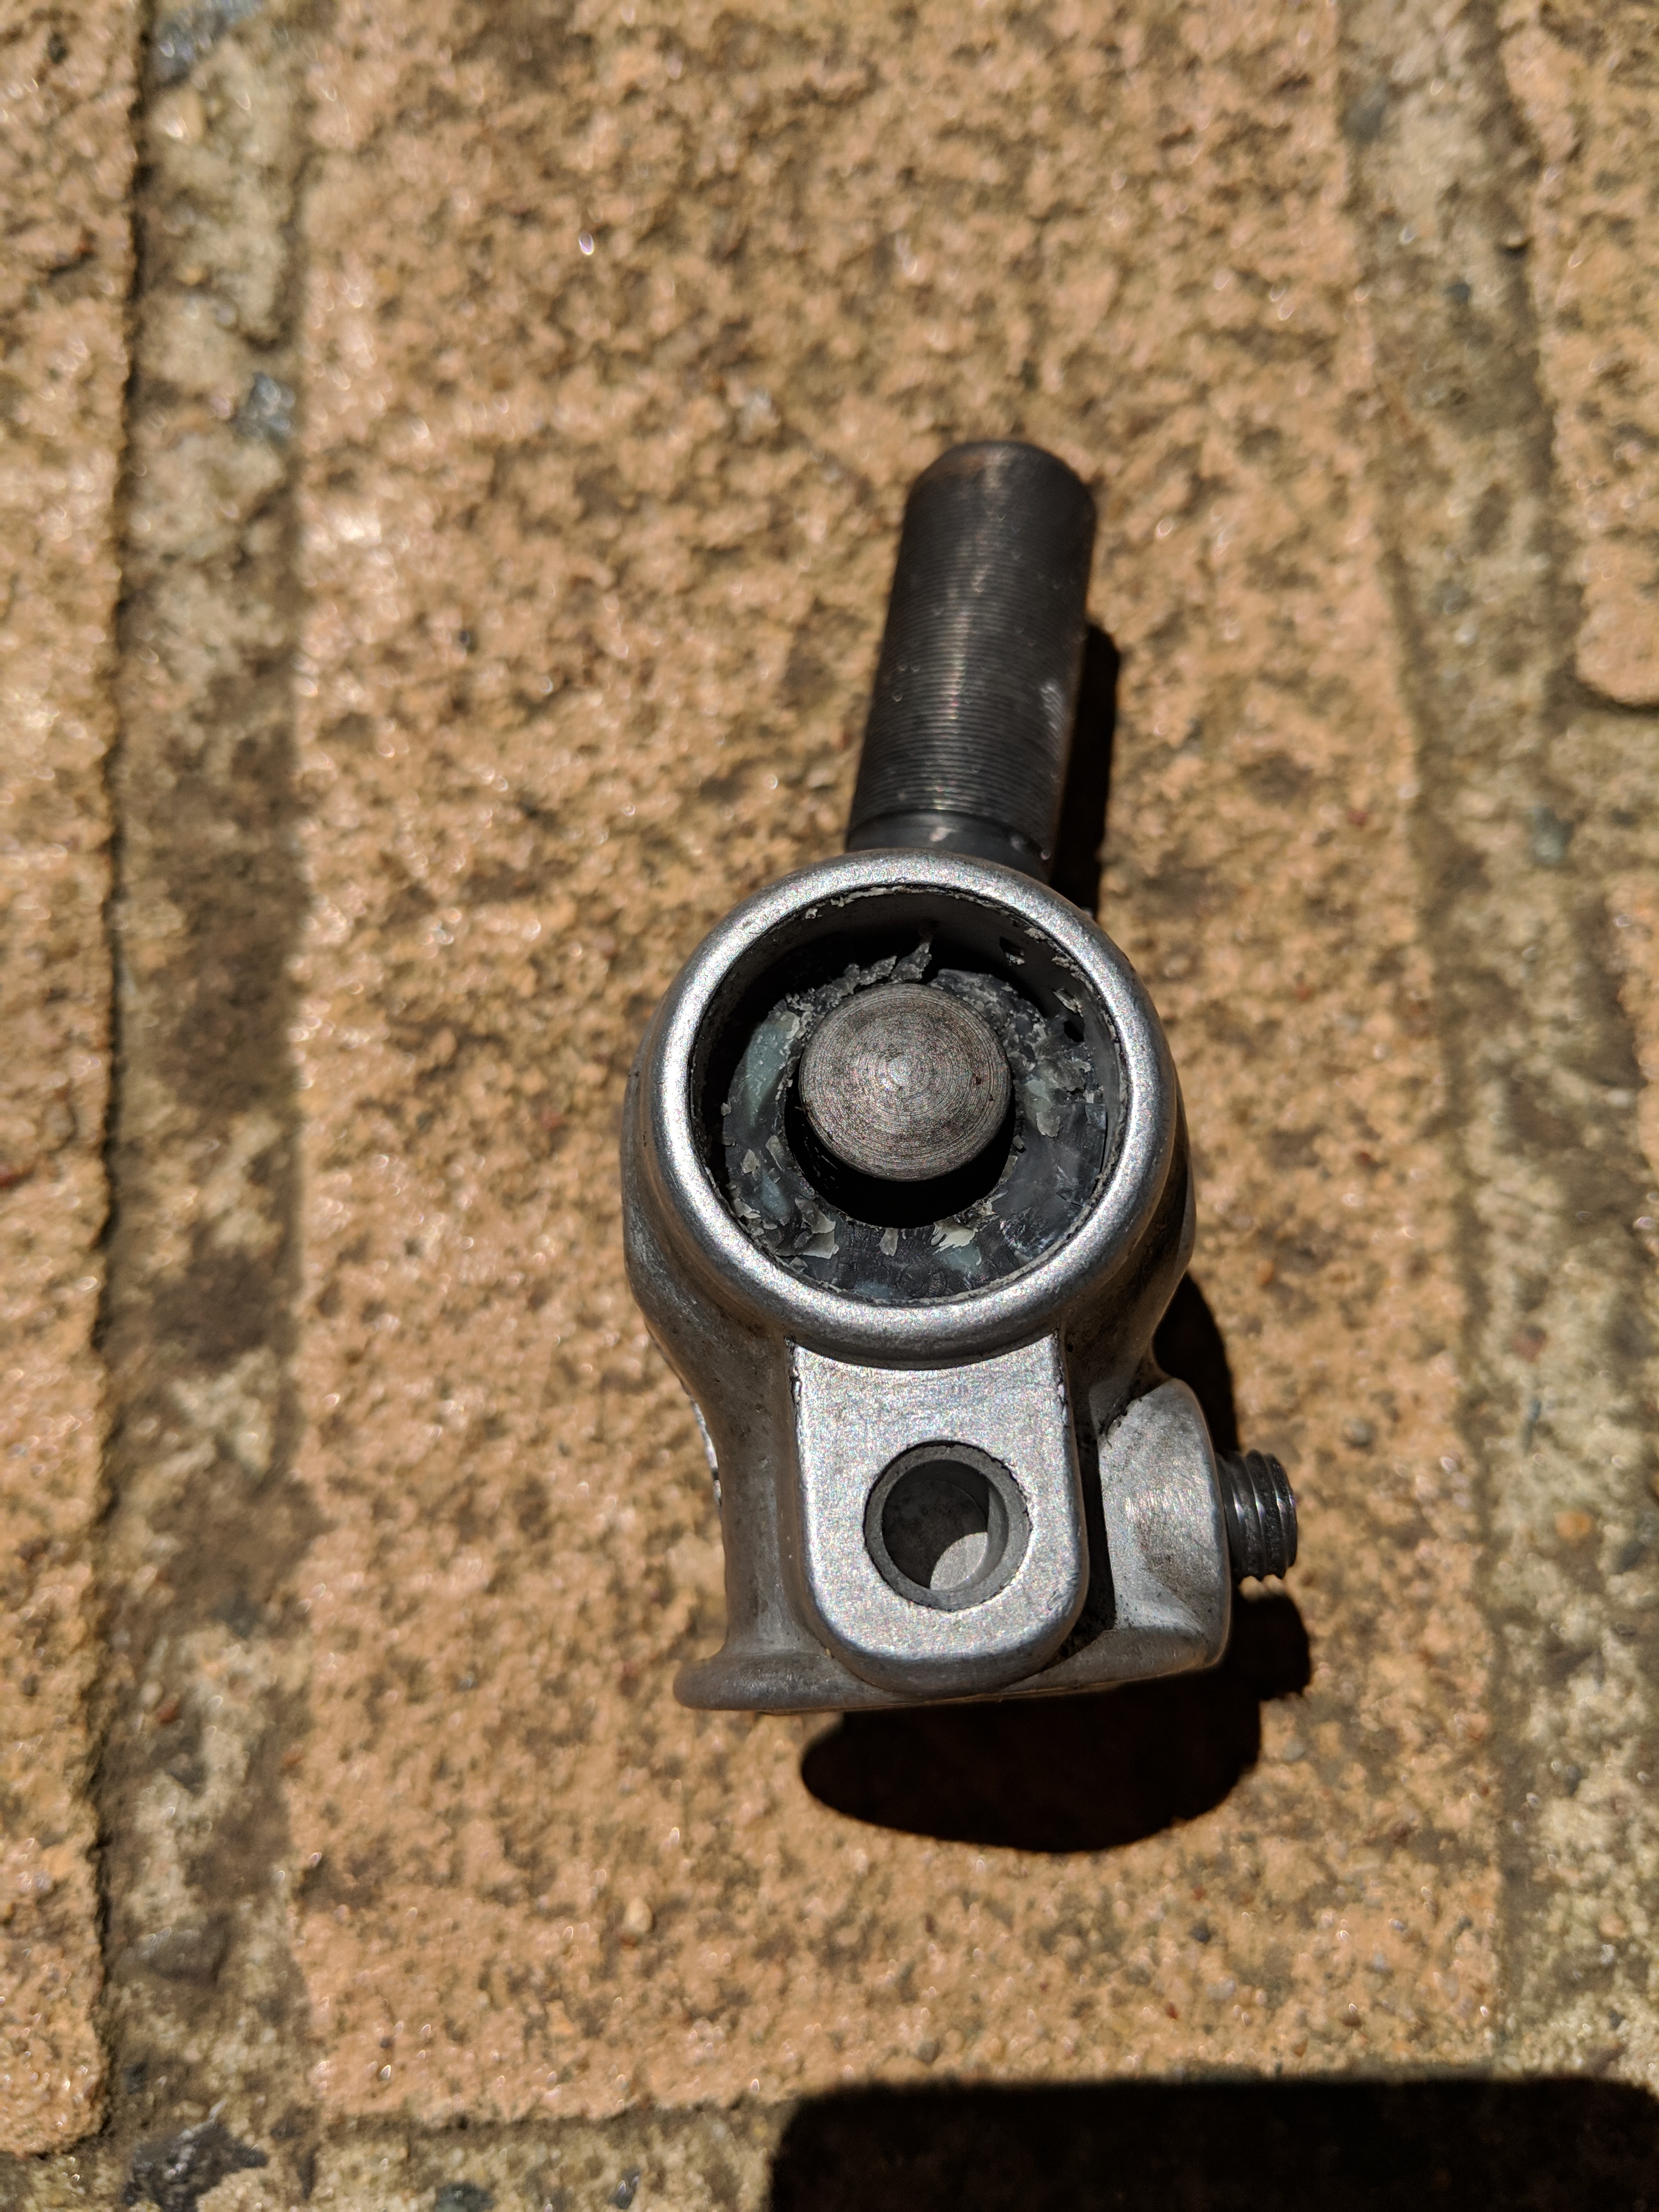
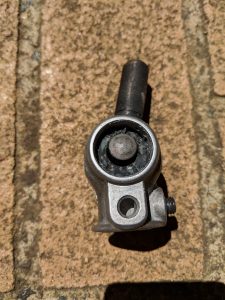
1. The shift coupler bushing
Original plastic bushings are almost totally disintegrated
As you can see, my current shift coupler bushing was almost totally disintegrated. The brass replacement kit from Pelican is the ideal replacement and comes with some very comprehensive instructions. The brass replacements look great once installed. It’s takes a lot of adjustment to get the shifter right when you put it back in, because the brass has different dimensions to the bushings you marked the position for.
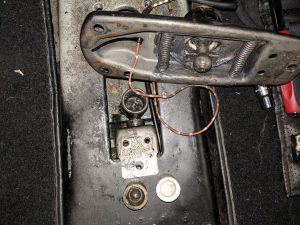
2. Cup bushing at the bottom of the shifter
Side by side view of old and new cup bushings
Under the shifting stick for both manual and sportomatic transmissions you will find a cup bushing. It’s hard to tell if it’s worn, the stick will have a small dead spot where it feels loose. It’s fairly straightforward to pry the old one off, then lubricate and install the new.
3. Shifter tunnel bushing
Replaced shifter tunnel bushing
The shift rod tunnel bushing requires removing the ball cup at the end of the shifting rod via a cone shaped allen key screw. The metal mount itself would have been unscrewed in order to remove the shifter itself. Slide off and remove the entire mount. It requires quite a bit of leverage to extract the worn bearing given it has a flange, but the new one pushes in fairly easily.