Software runs my life

Tag: replacement

Replacing Porsche shifter bushings

There are 3 main bushings that need to be replaced in this project:

1. The shift coupler bushing

Worn coupler bushing
Original plastic bushings are almost totally disintegrated

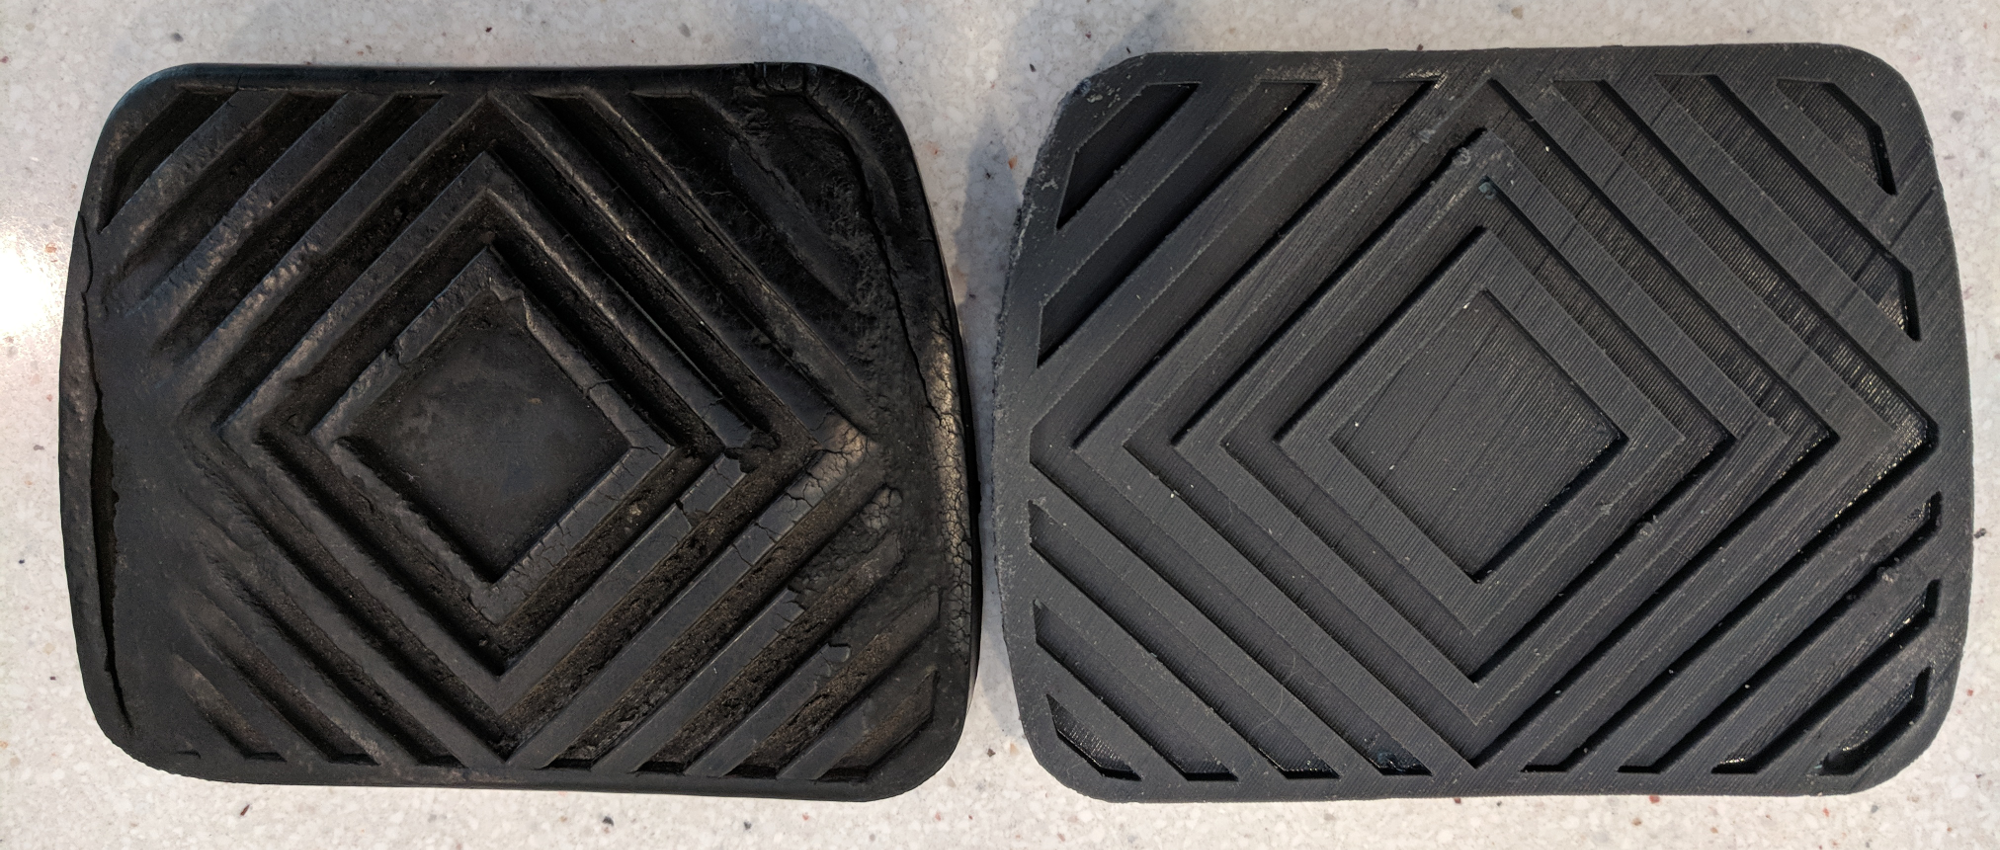
As you can see, my current shift coupler bushing was almost totally disintegrated. The brass replacement kit from Pelican is the ideal replacement and comes with some very comprehensive instructions. The brass replacements look great once installed. It’s takes a lot of adjustment to get the shifter right when you put it back in, because the brass has different dimensions to the bushings you marked the position for.

2. Cup bushing at the bottom of the shifter

Side by side view of old and new cup bushings

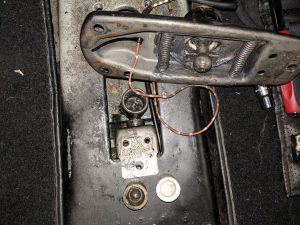
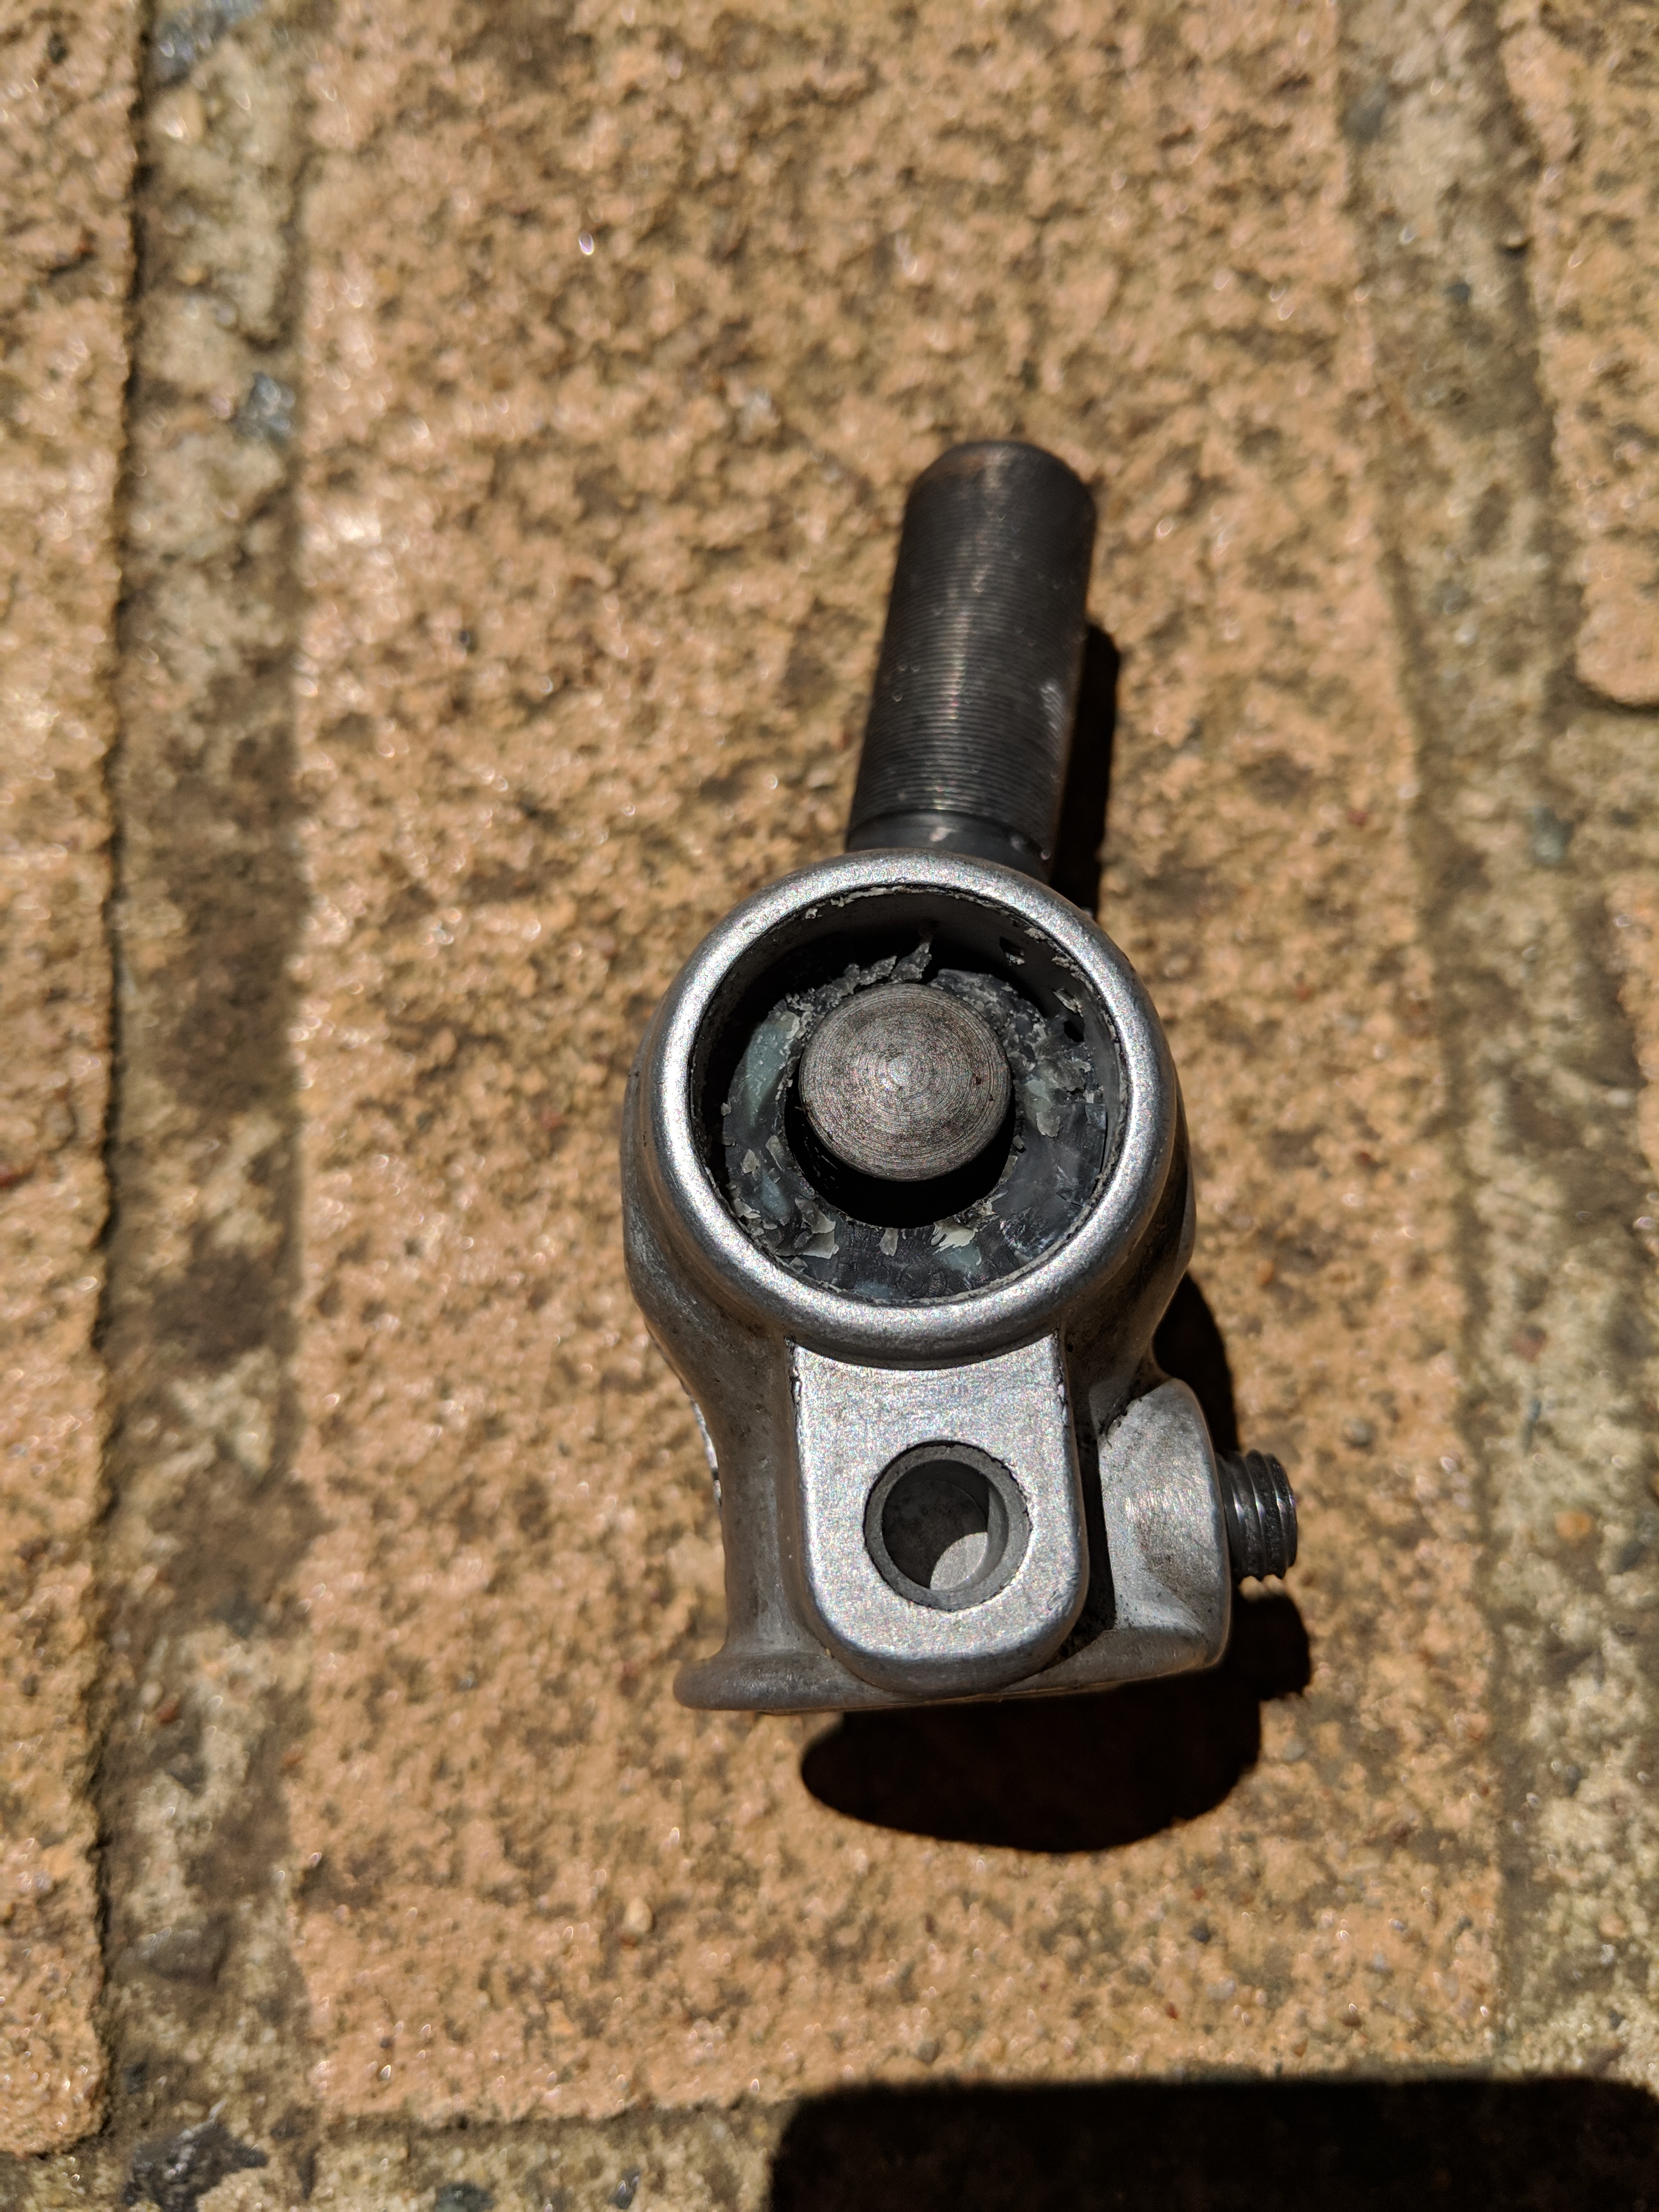
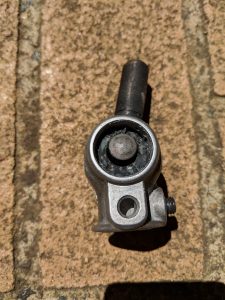
Under the shifting stick for both manual and sportomatic transmissions you will find a cup bushing. It’s hard to tell if it’s worn, the stick will have a small dead spot where it feels loose. It’s fairly straightforward to pry the old one off, then lubricate and install the new.

3. Shifter tunnel bushing

Replaced shifter tunnel bushing

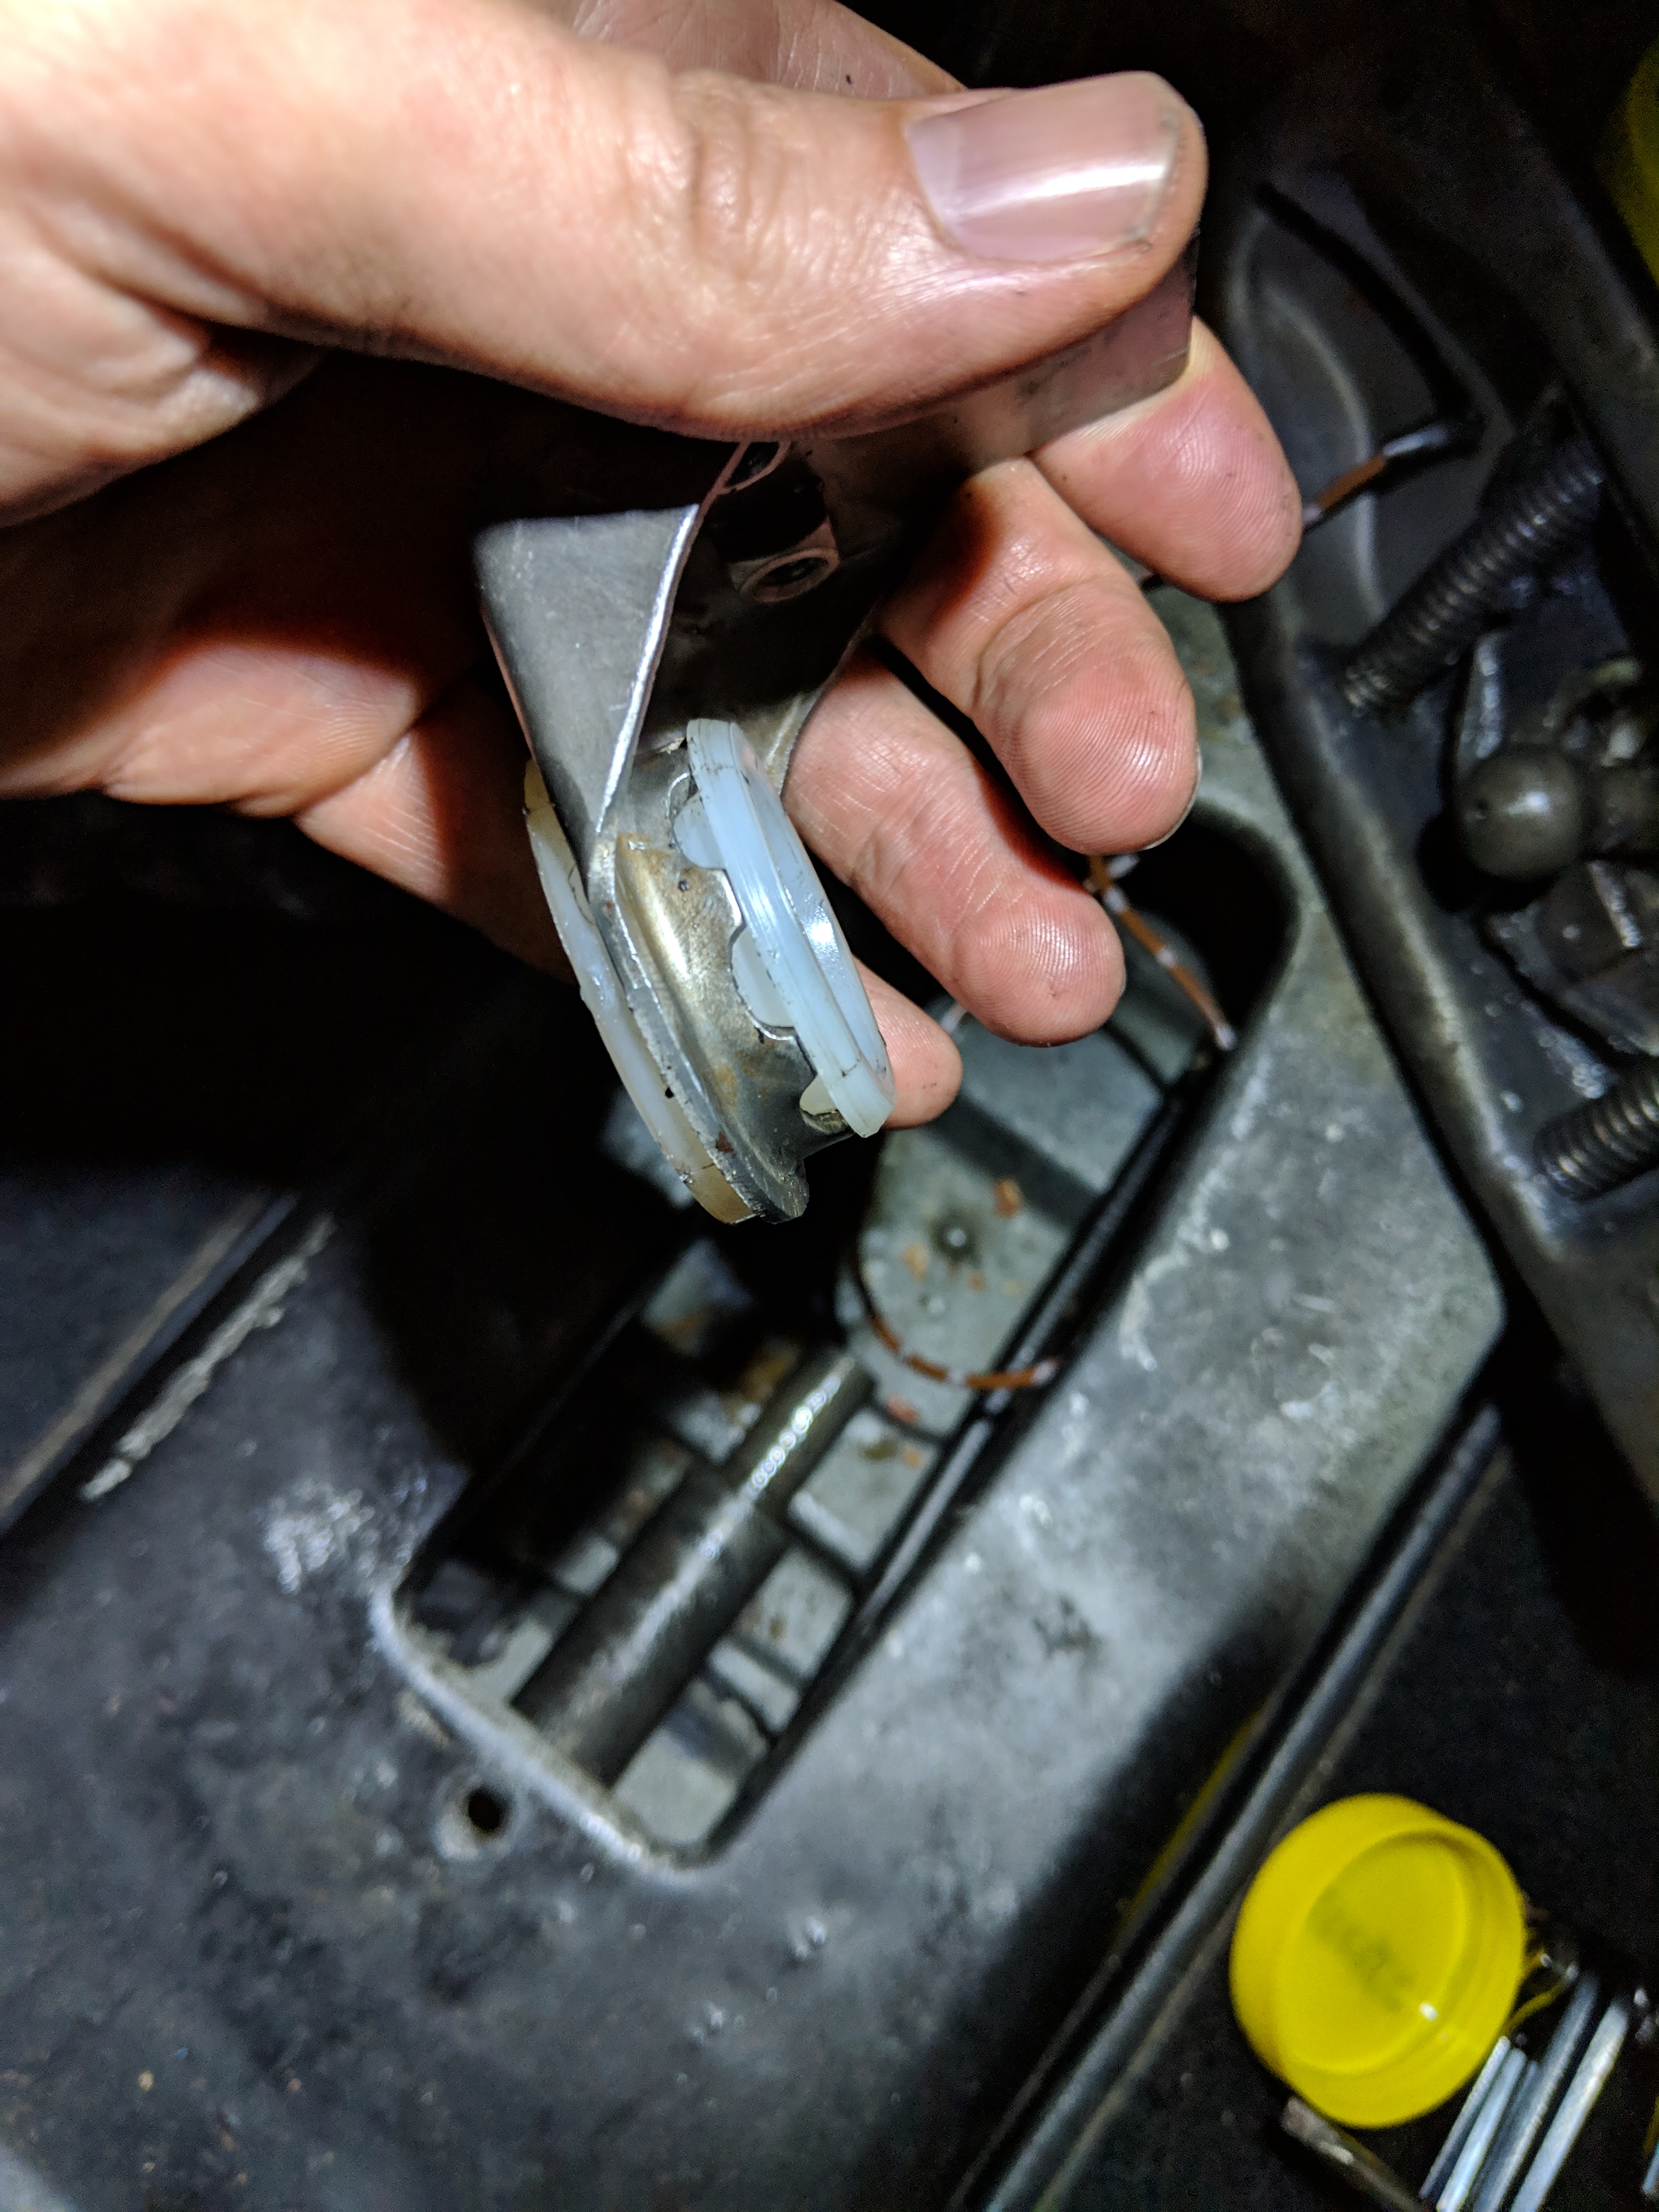
The shift rod tunnel bushing requires removing the ball cup at the end of the shifting rod via a cone shaped allen key screw. The metal mount itself would have been unscrewed in order to remove the shifter itself. Slide off and remove the entire mount. It requires quite a bit of leverage to extract the worn bearing given it has a flange, but the new one pushes in fairly easily.

3D Printing a Sportomatic brake pedal rubber

Owning a classic car is a great experience, particularly when there’s a huge community to help you solve problems and find parts. Sometimes however there’s a part that just isn’t made anymore, and one of those is the Porsche 911 Sportomatic Brake Pad (Part#: 905-423-511-00). Not even Pelican Parts can help me, and on forums second hand ones are selling for anywhere from US$90-175. That’s a lot of money for what should be a <$20 piece of rubber.

My work happened to purchase a Form2 3D printer, which has the option of printing in a flexible resin. So I made a 3D model of the brake pedal using my very well worn one as a template and extrapolating what it would have looked like pre-wear, and printed it!


Here’s a side by side comparison of the two pads, once I had trimmed off the support lattice. You can see very clearly how badly worn my old pad was:


I was very happy with the look and feel. The edges were a little more square than the original no doubt was, and perhaps it wasn’t quite as flexible – but the grip level was great and it was more than flexible enough. After some minor trimming with a Stanley knife of the back edge, it fitted perfectly!

In total I calculate it cost around $12 of resin (~50mL), so it’s a significant saving. Now I just need to see how it wears over time.


Powered by WordPress & Theme by Anders Norén